No products in the cart.
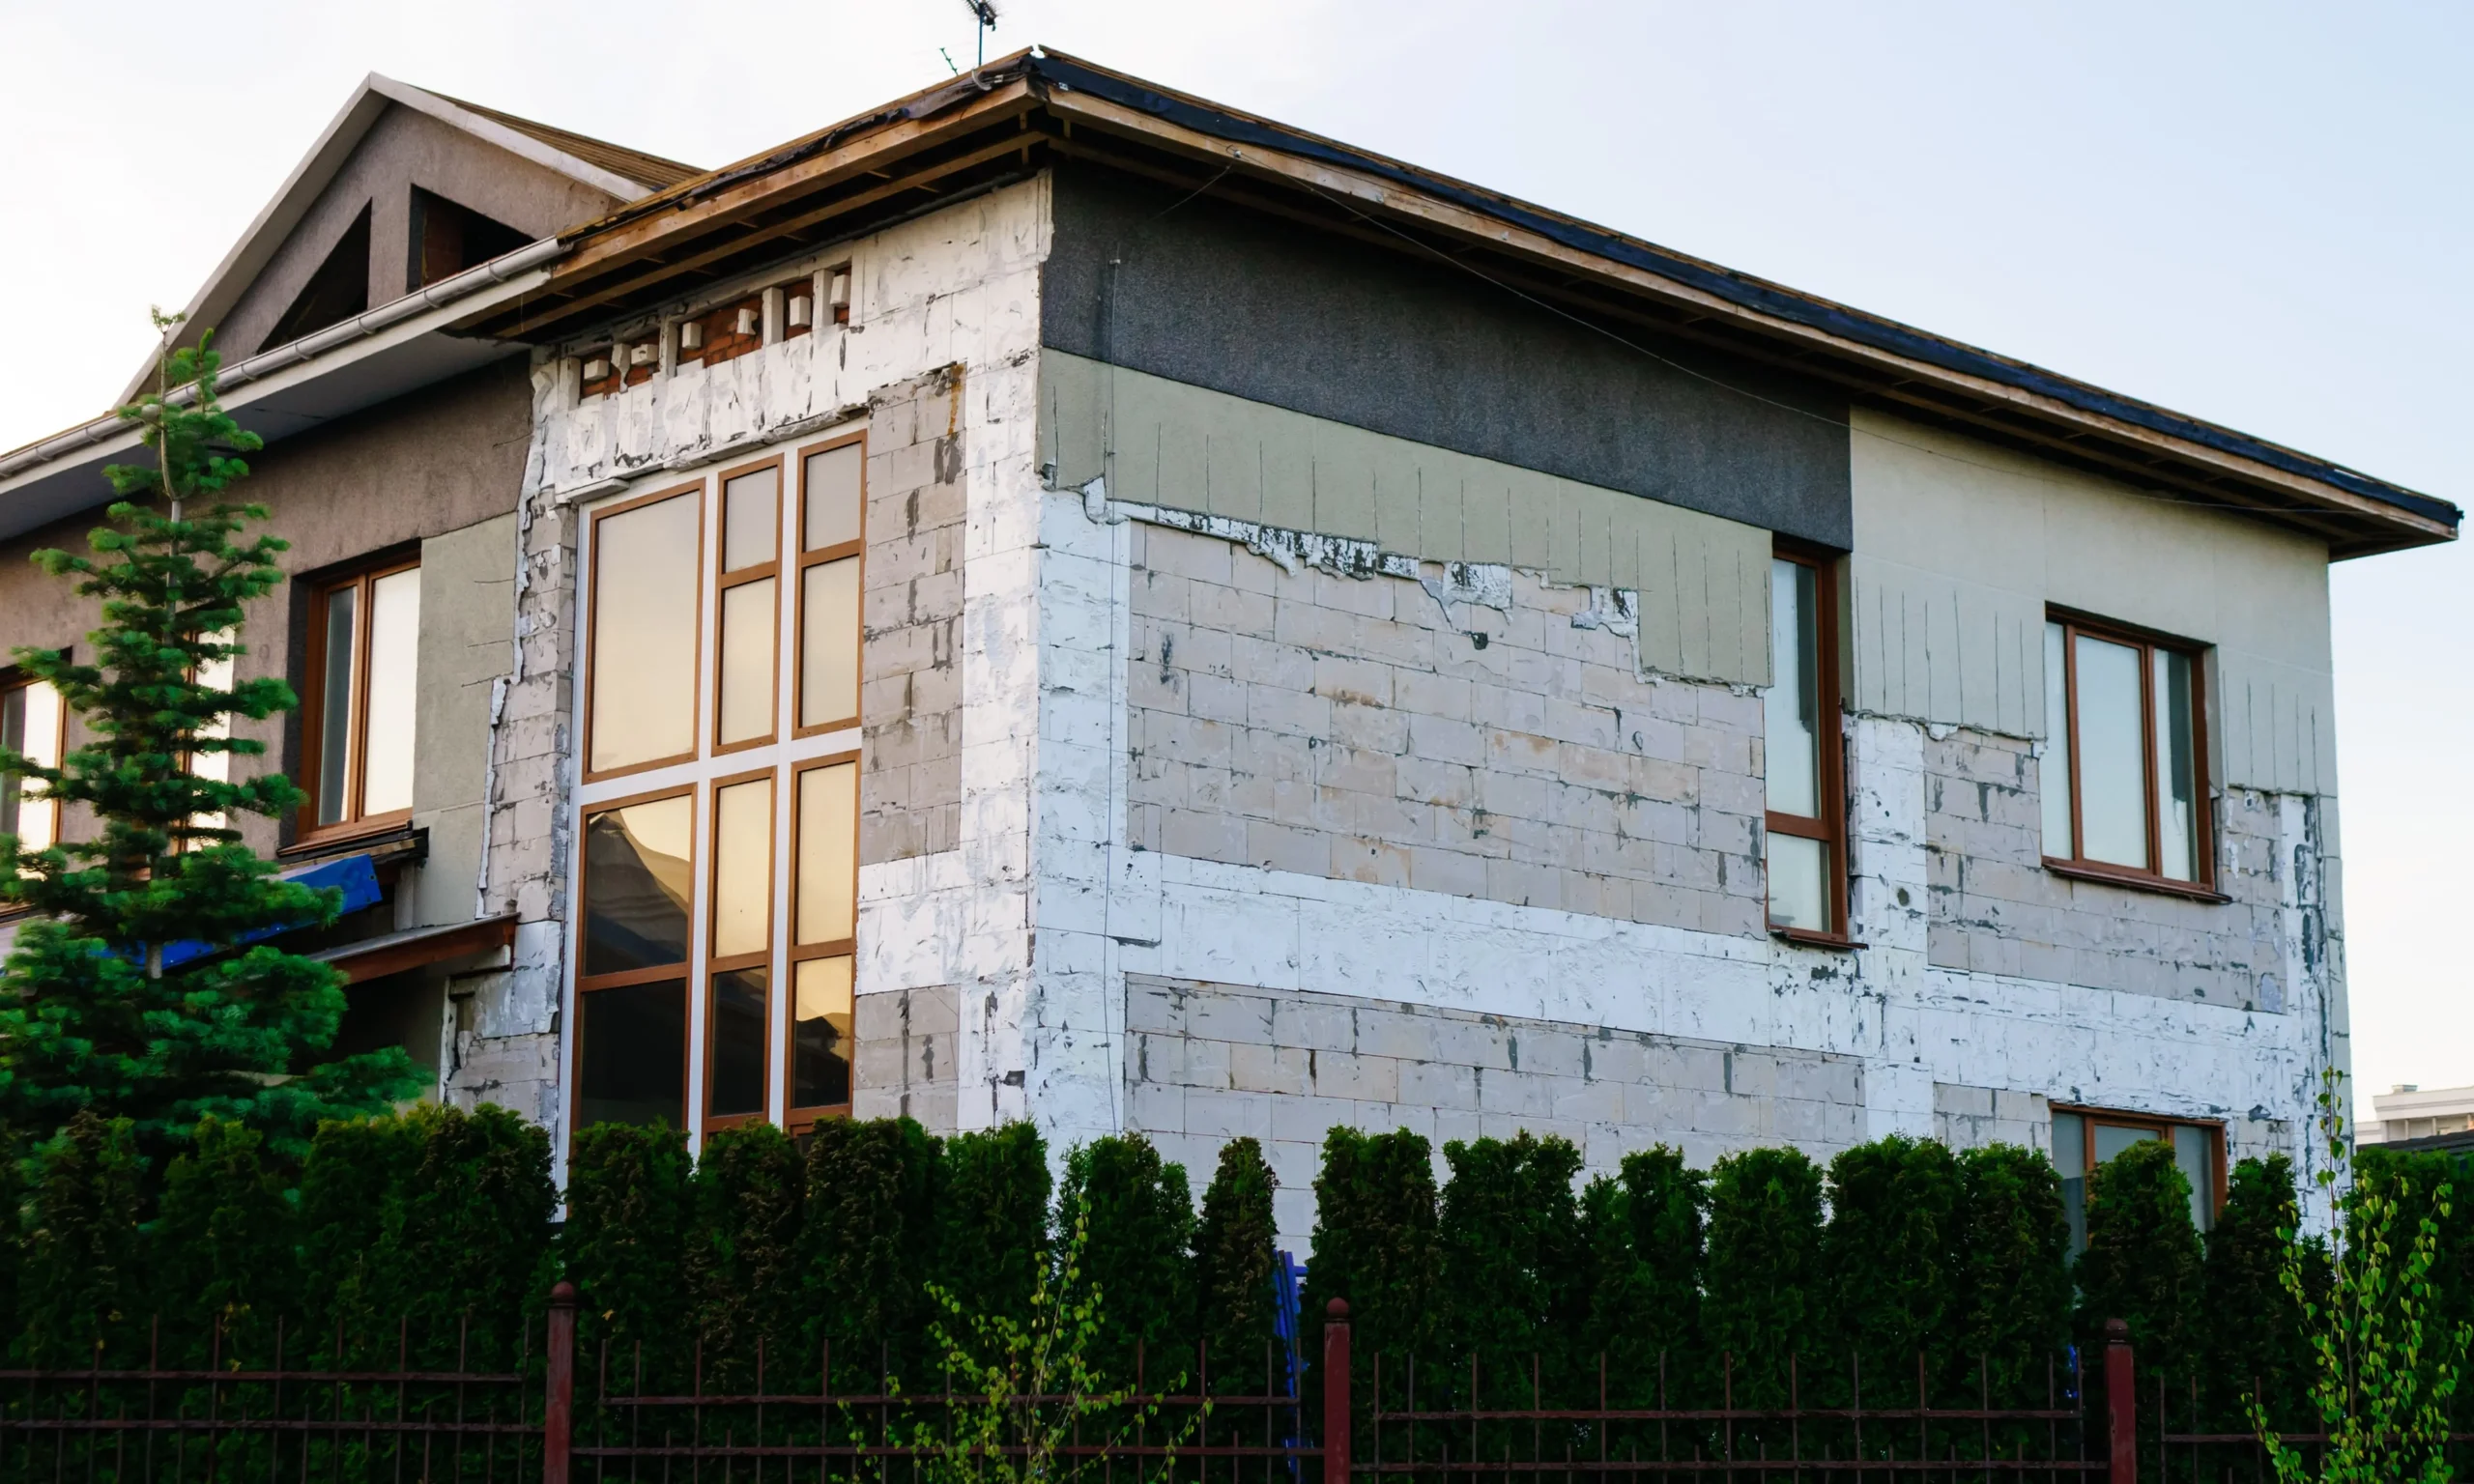
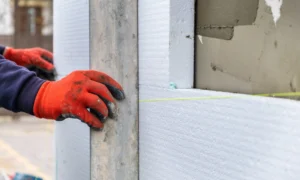
External Wall Insulation thickness is one of the most common questions homeowners ask. Should you choose 50 mm, 80 mm, or 100 mm? The answer depends on your house type, energy goals and budget. In this guide we’ll explain the differences, show you how to measure, and give clear recommendations for UK homes.
In a hurry? Try our EWI Calculator to size materials and add everything to basket in one click.
What actually drives thickness?
- Wall type & condition – solid brick walls usually benefit from thicker boards than cavity walls.
- Thermal target – thicker EPS → lower U-value and better comfort.
- Exposure & orientation – wind-exposed elevations may justify thicker insulation.
- Budget & programme – labour is similar, material cost rises with thickness.
- Planning/Building Control – check local requirements for your project.
Quick picker: when to choose each thickness
How to measure window/door reveal depth (2-minute check)
What you need
- Tape measure
- Straightedge (or spirit level)
- Notepad/phone to jot the shallowest reveal
Steps
- Place the straightedge flush with the outer face of the wall.
- Measure from the straightedge to the front face of the frame — that’s your reveal depth.
- Repeat on all sides/openings and note the smallest value you find.
- Add ~10 mm allowance (beads + render).
- If reveal depth ≥ EPS thickness + 10 mm, the board will fit without trimming.
Tight? Use slimmer boards at reveals or extension/reveal profiles.
Quick rule: choose your EPS → check EPS + 10 mm against the shallowest reveal.
Need help? Contact Penguin BM.
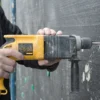
Fixings density helper
Pick exposure and enter area to get a recommendation and add fixings (plugs for polystyrene) to basket.
Enter area to see results.
Rule of thumb: 6–8 fixings/m² in practice (use the higher value on exposed elevations/corners).
Technical layout: 2 boards per m² × 5 fixings per board (4 corners + centre, 10–15 cm from edges) ⇒ ~10 fixings/m².
Place fixings where adhesive was applied — reduces thermal bridges and improves pull-out. Add a plastic cutter (≈1 per 200 fixings) and polystyrene discs (caps) to cover recesses.
Which EPS thickness should I choose?
Use the quick picker below and check your window reveal depth.
80 mm — common UK retrofit
- Best balance of performance vs detailing for solid walls.
- Usually works with standard trims and sills.
- Strong comfort & energy gain for most homes.
Often the safest all-round choice for UK retrofits.
Enter reveal depth to check fit.
We assume ~10 mm allowance for beads/render. If it’s tight, use slimmer boards at reveals or extension profiles.
Tip: if reveals are shallow, combine thicker EPS on main fields with slimmer boards or insulated reveals around openings to keep clearances.
Not sure which trims you need?
Send us a photo of your reveals and sills — we’ll confirm the right profiles for your chosen thickness.
- Include a quick reveal measurement (mm)
- Tell us your EPS thickness (50 / 80 / 100 mm)
Looking for parts? Browse our full External Wall Insulation (EWI) category or go straight to EPS boards & fixings. For an overview, see our Best External Wall Insulation in the UK (2025 Guide).
On-site checks before you lock the thickness
Before you buy, run through these field checks. They take minutes and prevent expensive rework.
- Reveal depth at all windows/doors (note the shallowest point).
- Sills & verges: will they need extensions for the chosen thickness?
- Damp proof course / plinth: keep finishes above DPC and specify a tougher finish at plinths.
- Rainwater/soil pipes: note offsets or stand-offs required.
- Cables/vents/satellite: plan re-routing and sleeves.
- Boundary lines: confirm you can add the thickness without encroaching.
- Substrate condition: loose paint/render removed; hollow spots repaired.
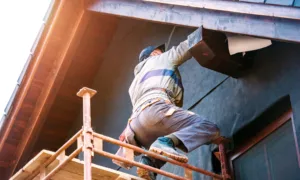
- Access: scaffold ties and sequence for base-to-top application.
- Corners and windy elevations may need 8 fixings/m² and tighter patterns
When space is tight around reveals (practical options)
- Slimmer boards at reveals with insulated reveal boards to keep clearances.
- Extension profiles for sills/verges; choose matching drip beads.
- Low-profile beads & trims to gain a few critical millimetres.
- Adjust pipework with stand-off brackets instead of forcing thin EPS everywhere.
- Thinner finish at reveals (keep system build-up within tolerance).
- Mix thicknesses sensibly: main fields 80–100 mm, reveals 20–50 mm, keeping the base coat flush.
Cost & labour: what changes (and what does not)
- Labour is broadly similar across 50/80/100 mm; most time is in setup, base coat and finishing.
- Material delta is driven mainly by EPS thickness; adhesives, mesh, primer and finish are roughly the same regardless of thickness.
- Details cost (sills, verges, profiles) can swing the budget more than the EPS delta—plan them early.
- Rule of thumb: move up a thickness for performance, not for “labour savings”—the saving is marginal.
Performance expectations (rule-of-thumb only)
Exact U-values depend on wall build-up and detailing, but as a very general guide for solid walls:
- 50 mm graphite EPS → noticeable comfort gain; good as a light upgrade.
- 80 mm → the typical UK retrofit sweet spot for energy and comfort.
- 100 mm → deeper cut in heat loss and better stability on exposed sites.
Always verify against your project target and local Building Control requirements.
Performance guide (rule-of-thumb)
Relative gains for solid-wall retrofits. Exact U-values depend on your wall build-up and detailing.
| Thickness | Relative thermal improvement | Typical use |
|---|---|---|
| 50 mm | ★★☆☆☆ (light upgrade) | Small refurb areas, tight reveals, cold-spot cure |
| 80 mm | ★★★★☆ (balanced) | Common UK retrofit for solid walls; standard detailing |
| 100 mm | ★★★★★ (deeper upgrade) | Exposed sites, projects targeting higher performance |
Double mesh — when it actually makes sense
Use a second mesh layer in: plinths, around garage/entrance doors, corners, high-traffic areas, and where you expect impacts. Over-lap the second layer generously (≥ 100 mm) and keep openings reinforced with diagonal patches. Adhesive coverage must suit a double-embedded mesh.
Common mistakes to avoid (and quick fixes)
- When installing External Wall Insulation, a few small mistakes can make a big difference. Here are the most common ones we see – and how to avoid them:
- Skipping the primer under coloured render → leads to patchy or uneven colour.
Quick fix: Always apply a tinted primer before the final render. - Using the wrong adhesive → not all adhesives are the same.
Quick fix: Either use two products (board adhesive for fixing boards + mesh/base coat for reinforcement) or a universal adhesive like PSW with fibres, which is stronger than basic PS and works for both jobs. - Too few fixings on corners and edges → insulation boards can loosen over time.
Quick fix: Use at least 6–8 fixings per m², and add extra around corners, windows and doors. - Not allowing extra space around reveals (windows/doors) → beads and render won’t fit properly.
Quick fix: Allow board thickness plus about 10 mm extra for reveal beads and render. - Ignoring the damp-proof course (DPC) → render ends at the wrong level on the plinth.
Quick fix: Always check where the DPC is and finish the system above it. - Forgetting about pipes and vents → messy last-minute cuts and thermal bridges.
Quick fix: Plan for pipes, vents and cables before you start, and use the right trims or collars.
What to order alongside the EPS
- Profiles & beads: starter tracks, corner beads, reveal beads, drip edges, expansion joints.
- Sill/verge extensions: sized to suit the final projection of the insulation system.
- Fixings: plugs for polystyrene (metal pin) — approx. 6–8 pcs/m² in practice (use the higher value on corners and around openings).
A technical layout check gives ~10 pcs/m² (2 boards per m² × 5 fixings: 4 corners + centre, 10–15 cm from edges).
Always place fixings where adhesive was applied to minimise thermal bridges and improve pull-out strength. - Accessories: plastic cutter (~1 per 200 fixings) + polystyrene discs (caps).
Discs close the recess, reduce thermal bridges, prevent visible marks on dark renders, and protect against corrosion (especially with metal pin fixings). - System layers: EPS board adhesive (or a universal adhesive such as PSW with fibres, suitable for both fixing boards and embedding mesh) , fibreglass mesh, mesh/base-coat adhesive, tinted primer, chosen finish.
Ready to size your order?
Use the EWI Calculator to generate quantities and add everything to basket in one click. Prefer a quote? We supply UK-wide from Wembley, London.
Thickness FAQs
Which EPS thickness should I choose?
Quick rule: 50 mm = light upgrade for tight reveals; 80 mm = most common UK retrofit; 100 mm = deeper upgrade / exposed sites. If unsure, start at 80 mm, check reveals, then adjust. For precise quantities use our EWI Calculator.
Will thicker EPS fit my window/door reveals?
Measure the shallowest reveal. If reveal depth ≥ EPS thickness + ~10 mm (for beads + render), it fits without trimming. If it’s tighter, use slimmer boards at reveals or extension/reveal profiles and keep the main fields thicker.
Do I need planning permission for EWI in the UK?
Often no for minor works, but always check locally. Permission may be required if the façade appearance changes significantly or the system projects beyond the boundary line.
How many fixings per m² should I use?
Use around 6 fixings/m² as standard and 8 fixings/m² on exposed elevations and near openings/corners. Add a plastic cutter at roughly 1 per ~200 fixings.
Single vs double mesh — when is double worth it?
Double mesh is recommended at plinths, around doors/garages, at corners and other high-impact areas. One layer is standard on main façade fields.
Do adhesives change with thickness?
You use two adhesives: a board adhesive and a mesh/base-coat adhesive. Coverage per m² is similar across thicknesses; what mainly changes with thickness is the number of EPS boards.
Can I mix thicknesses on one façade?
Yes. A common approach is 80–100 mm on main fields with 20–50 mm at reveals. Keep the base-coat plane flat, align beads carefully and use insulated reveal boards to avoid thermal bridges.
This article was prepared by industry experts with extensive experience in external wall insulation systems and materials. The information provided is based on current best practices and manufacturer recommendations as of August 2025.
Know your thickness? Choose your boards.
Browse EPS boards and mineral wool boards in all standard thicknesses. View our full EWI systems catalogue for everything you need. Free technical advice on thickness selection.
Shop Insulation Boards →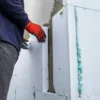
Related posts
External wall insulation boards are the thermal core of any EWI system. This guide explains how they work, compares EPS, mineral wool, phenolic and PIR/PUR... Continue reading

Want to ensure your external insulation system stands the test of time? The secret lies in proper fixings! In this comprehensive guide, Penguins BM experts... Continue reading
🏠 Discover how to select the perfect adhesive for different external wall insulation materials! 🔍 Our expert guide covers various substrates, weather conditions, and application... Continue reading

External wall insulation 🏠: Confused about render options? Our guide breaks down silicone, hybrid, quartz & mosaic renders to help you choose the perfect finish... Continue reading
External wall insulation 🏠 requires masterful plastering techniques to achieve durable and aesthetic results. In our comprehensive guide, discover essential tools, premium materials, and proven... Continue reading
Add comment