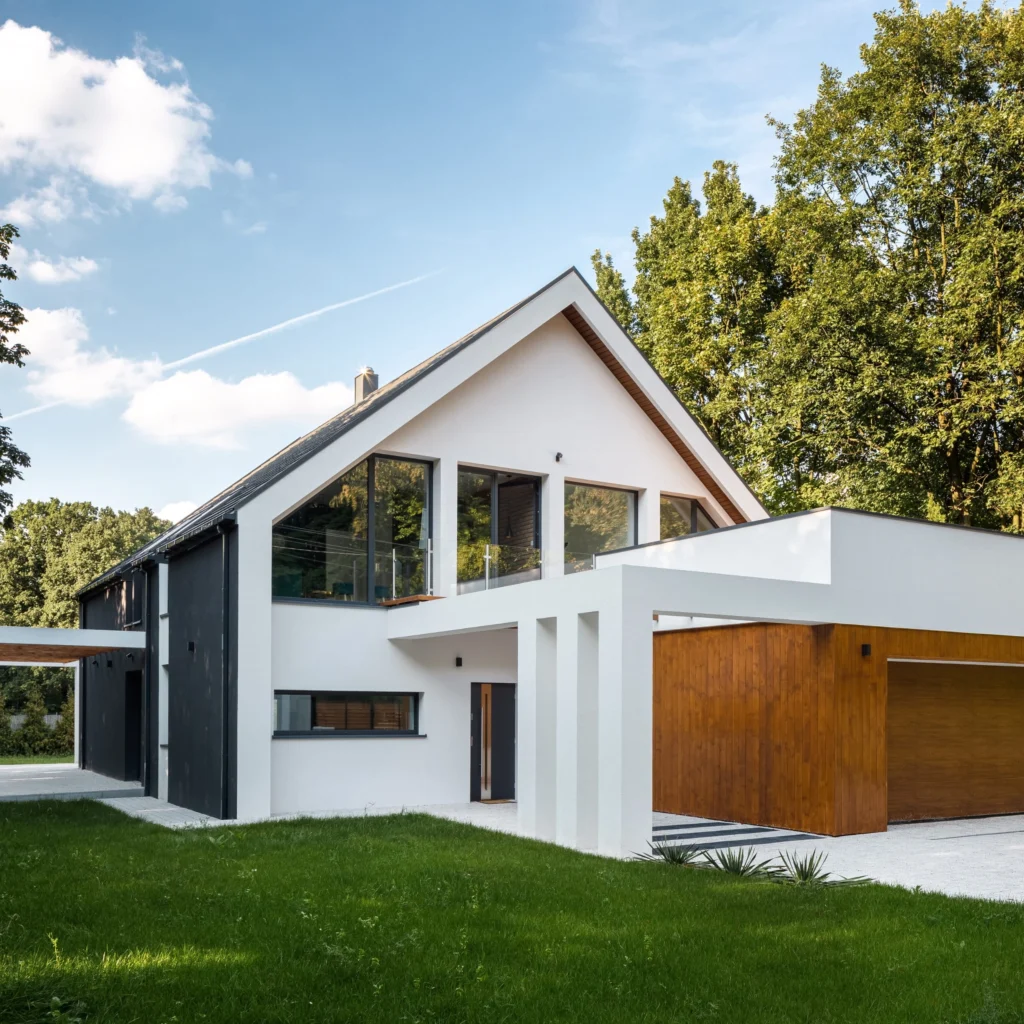
K rend paint - Can you paint over k rend render?
Yes, in most cases you can paint over K Rend – as long as the render is sound and you prepare it properly. The key is using a breathable exterior coating and fixing any defects first. If the render is failing (loose, hollow, heavily cracked, or damp), painting will only hide the problem temporarily and can make it worse.
If you are dealing with k rend and want a cleaner finish or a colour refresh, painting can be a practical option – but only after you confirm the surface is stable, clean, and dry. Below you will find when it makes sense, what to use, and how to avoid the common failures.
Can you paint k rend?
Yes – can you paint k rend? Usually, yes, especially when the render is structurally sound but looks tired (slight fading, patchiness from weathering, or minor staining). Painting is often chosen for:
- Colour changes where the existing finish is consistent but dated
- Refreshing areas affected by light surface staining
- Blending repairs where the render is sound but colour matching is difficult
However, there are situations where it is smarter to refresh, repair, or address the render system itself before you paint:
- Widespread cracking, movement cracks, or recurring cracks after repairs
- Hollow-sounding areas, loose sections, or delamination from the substrate
- Persistent damp patches, leaking gutters, or failed sealants around openings
- Heavy algae growth that keeps returning quickly (often a moisture or shading issue)
- Chalky, friable surfaces where material rubs off easily (poor cohesion)
In short: can you paint over k rend? Yes, but only if the render is stable and you treat the cause of any staining or damage, not just the symptoms.
Can you paint over k rend silicone render?
You can, but you need to be more careful with product choice and preparation. Silicone render is designed to shed water while still allowing water vapour to escape. If you apply a non-breathable coating, you risk trapping moisture in the wall, which can lead to bubbling, peeling, and damp-related problems.
What to watch for with silicone render:
- Vapour permeability: keep the system breathable so moisture can escape
- Water repellency vs adhesion: silicone finishes can be more resistant to coatings unless properly cleaned and primed (when required)
- Surface contamination: algae, salts, traffic film, and airborne pollution reduce adhesion
- Patchiness: if the surface has uneven porosity (repairs, weathered areas), colour can dry inconsistently without the right primer strategy
If the surface is healthy and the paint is compatible (breathable, exterior rated), painting silicone render can work well. The preparation and correct paint type matter more than on many older, cement-based renders.
What paint should you use on k rend?
The safest approach is to choose a coating that maintains breathability, resists weathering, and is suitable for masonry and render surfaces. Avoid anything that forms a thick, plastic-like film unless it is specifically designed to remain vapour permeable.
Breathable masonry paints
For most homes and low-rise applications, a high-quality breathable masonry paint is the go-to choice. It should:
- Allow water vapour to pass through (helps walls dry out)
- Handle UV exposure and rain without breaking down quickly
- Bond well to mineral substrates when the surface is properly prepared
Breathable coatings are particularly important where the building fabric needs to manage moisture naturally – common in UK conditions.
Elastomeric vs standard exterior paint
- Elastomeric coatings are more flexible and can help bridge very fine hairline cracking. They are not a fix for structural cracks, and some products can be less breathable depending on formulation.
- Standard exterior masonry paints are usually adequate when the render is stable, properly repaired, and the main goal is a colour refresh.
Choose based on the condition of the render, not as a shortcut to hide bigger issues.
What to look for in paint
- Breathable (vapour permeable)
- Exterior rated for UK weather exposure
- Suitable for render and masonry substrates
- Good adhesion on mineral surfaces (with primer support where needed)
- Algae and fungal resistance (especially on shaded elevations)
- UV stability to reduce fading
- Compatible with existing finish (especially silicone render)
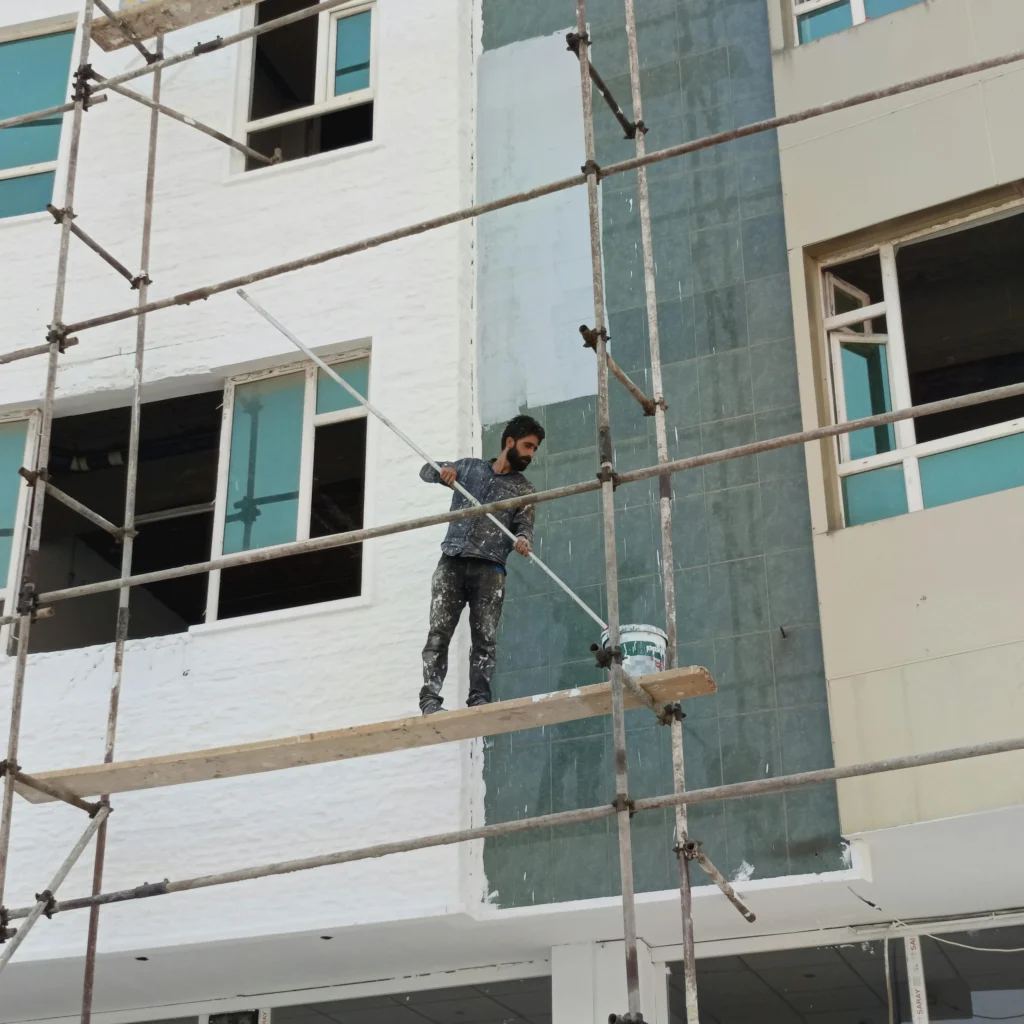
Surface preparation (this is where most people fail)
Most paint failures on render are preparation failures. If you skip cleaning, ignore hairline defects, or paint over damp, you are likely to see peeling, patchiness, or blistering.
Cleaning and removing algae/dirt
Paint needs a clean, sound surface. Typical steps include:
- Remove loose dirt, chalking residue, and pollution film
- Treat algae and mould properly, then rinse thoroughly
- Allow full drying time after washing (longer in cold or humid weather)
Pressure washing can help, but it can also damage the surface if too aggressive. Use sensible pressure and avoid forcing water behind the render.
Repairs and cracks
Before painting:
- Rake out and repair cracks with a compatible repair material
- Replace any loose or blown sections rather than patching over unstable areas
- Feather repairs smoothly to reduce visible edges
- Allow repairs to cure fully before priming or painting
If cracks reappear quickly, it suggests movement or underlying issues that paint will not solve.
Primers and sealers - when needed
Primers are not always mandatory, but they are often the difference between a finish that lasts and one that fails early. Consider a suitable primer/sealer when:
- The surface is porous or uneven (new repairs next to older render)
- There is light chalking even after cleaning
- You see patchy suction that could cause uneven colour and sheen
- You want to improve adhesion on difficult or weathered areas
Always match the primer to the paint system and substrate condition.
| Surface condition | Prep steps | Recommended approach |
|---|---|---|
Sound, clean render with no algae |
Light wash, rinse, dry |
Apply breathable masonry paint in 2 coats |
Light algae or staining |
Biocidal treatment, gentle wash, rinse, dry |
Breathable exterior paint, consider primer if suction varies |
Hairline cracks |
Clean, fill/repair, cure, spot prime |
Breathable paint, ensure repairs are compatible and fully cured |
Patchy porosity (repairs, weathered zones) |
Clean, dry, assess suction, prime as needed |
Use a suitable primer/sealer to even out absorption before top coats |
Chalky or dusty surface |
Thorough cleaning, remove friable material, dry |
Stabilise with an appropriate sealer/primer, repaint only once sound |
Loose, hollow, or damp-affected areas |
Investigate cause, remove and reinstate, address moisture source |
Do not paint until the render system is repaired and fully dry |
Step-by-step - how to paint k rend
- Inspect the render thoroughly – check for hollowness, cracks, loose areas, damp patches, and failing sealants around windows and doors.
- Fix the cause of any moisture – leaking gutters, failed pointing, poor drip details, or damaged sealants must be addressed before painting.
- Clean the surface – remove dirt and traffic film; treat algae/mould properly and rinse well.
- Let it dry completely – painting over residual moisture is one of the fastest ways to get blistering and peeling.
- Repair defects – fill hairline cracks, patch damaged spots, and replace any loose render; allow repairs to cure fully.
- Assess suction and chalking – rub the surface by hand; if it powders or absorption is uneven, plan for an appropriate primer/sealer.
- Mask and protect – cover glazing, trims, paving, and plants; protect downpipes and external fittings.
- Apply primer if needed – focus on repaired and porous areas, or prime full elevations where absorption varies.
- Apply the first coat of breathable exterior paint – work methodically, maintain a wet edge, and avoid painting in poor conditions (rain risk, strong sun, freezing temperatures).
- Apply the second coat – follow the recommended recoat time and confirm full coverage, especially on textured finishes.
Common mistakes and how to avoid them
- Painting over algae without proper treatment – it often bleeds back through or undermines adhesion; treat, rinse, and dry fully.
- Skipping repairs because “paint will cover it” – cracks and hollow areas tend to telegraph through and fail again.
- Using non-breathable coatings – can trap moisture; always prioritise vapour permeability, especially on silicone render.
- Painting when the wall is damp or the weather is wrong – cold, rain, and high humidity can cause poor curing and patchiness.
- Not priming uneven surfaces – repairs and weathered zones can flash through as colour variation without a primer strategy.
- Over-washing with too much pressure – can damage the render face and drive water behind the finish.
- Poor edge detailing – unsealed junctions around openings allow water ingress that shows up later as bubbling or staining.
- Applying coats too thick or too fast – follow coverage rates and drying times to avoid film weakness and peeling.
Recommended r rend paint products
- Weather-resistant finish
- Strong coverage
- Anti-algae and fungal
- Fast-drying primer
- Deep-penetrating surface sealer
- Reduces substrate absorbency
- Water-repellent finish
- UV and frost resistant
- Crack-free matte coating
FAQ
Can you paint over k rend?
Yes, if the render is sound, clean, and dry, and you use a breathable exterior paint system.
Can you paint k rend silicone render without problems?
Do you always need a primer on K Rend?
Not always. You typically need one if the surface is porous, patchy (repairs), lightly chalky, or you want to improve adhesion consistency.
What happens if you use non-breathable paint on render?
It can trap moisture, leading to blistering, peeling, and damp-related staining, especially in UK weather.
How long should render dry after washing before painting?
Until it is fully dry through the surface – this can be several days depending on temperature, shade, and humidity.
Can painting hide hairline cracks in K Rend?
It may reduce their visibility, but it will not fix the cause. Repair cracks first and do not rely on paint as a structural solution.
Why does painted render go patchy?
Common reasons are uneven absorption (repairs), painting in poor conditions, or skipping primer where it was needed.
How many coats do you need on K Rend?
Usually two coats for consistent coverage and durability, plus primer if the surface condition calls for it.
Is it better to repaint or repair the render?
Repaint when the render is sound and you only need a refresh. Repair first if there are cracks, loose areas, or moisture issues.
Can you paint over stained K Rend without cleaning?
No – stains, algae, and pollution film reduce adhesion and often show through. Proper cleaning and treatment comes first.
Contact, location and shop
Quick route to availability checks, collection in Wembley, or delivery planning.
- Store location
416 Ealing Rd, London, Wembley HA0 1JQ, United Kingdom
- Shop online